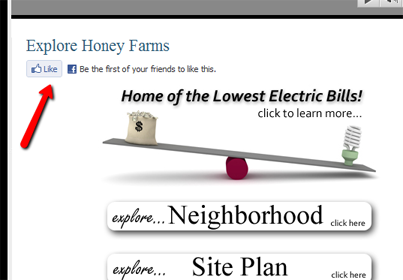
If you have a WordPress site or blog, it’s really easy to integrate the Facebook “Like” button. My recommendation is to use a plugin. You will find several plugins if you search in the plugin repository, but the one I chose is simply called Facebook Like Button.
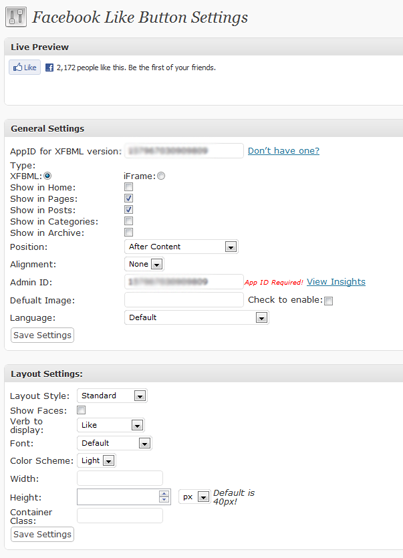
After installing the plugin you’ll get a new Admin menu for the plugin (it appears outside the Settings section). The second image above shows a screenshot of the settings. Here’s all I had to do to get it working:
1. Register an App with Facebook. Just click on the “Don’t have one?” link on the settings screen. The prompts on Facebook were easy enough that I don’t think I’ll detail those.
2. Copy the AppID from Facebook into the AppID field.
3. Chose the XFBML radio button to use that version of the code.
4. Checked the appropriate boxes to have the button appear on WordPress Pages and Posts. (Your preference)
5. Click the Save settings button.
That’s all you have to do, but as you will see there are several other options, one of which is that you can choose the verb on the button. You get either “Like” or “Recommend”. I almost set mine to “Recommend”, but I think most people are used to “Like” now, so I stuck with it. No use swimming upstream!

Settings for Facebook Like Button Plugin
One other note. The plugin requires that your host be running PHP 5. Another plugin that makes it easy to verify what your environment is, is ServerBuddy, a free WP plugin to check hosting & security. So you might want to check that out also.
Have fun with the Facebook Like button!
Brett
SpotLight Digital Media

